

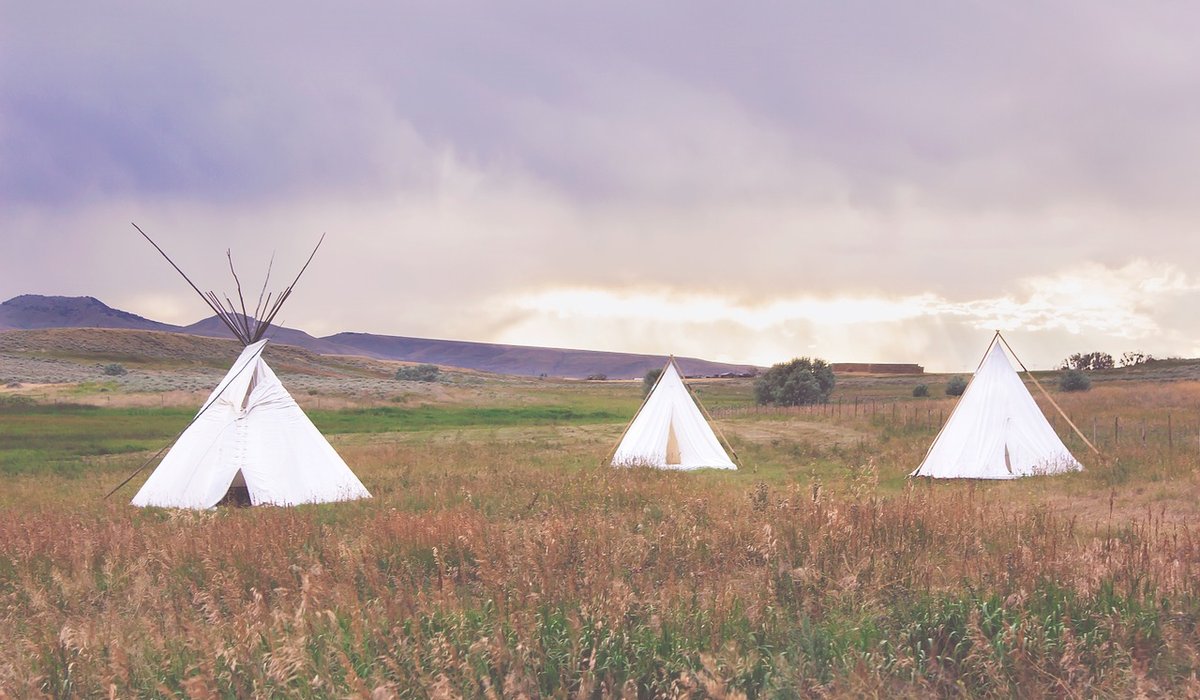
Using a Map and Compass in Poor Visibility
When the cloud comes down
In a Scottish glen, visibility can go from a mile to twenty metres in the time it takes to stop for a sandwich. One minute you are looking at a ridge line you can name; the next you are in a grey room with no walls. It happens on the Cairngorm plateau, it happens on the flanks of a Munro, and it happens in low-level glens in November when the mist sits at 300 metres and refuses to lift.
This is not a crisis. It is just weather, and it is entirely manageable with a map, a compass and a bit of discipline. The skills below are the ones that actually matter when the view disappears, and they are worth practising on a clear day so they are second nature when the cloud arrives.
Set the map before you need it
Setting the map means turning it until the ground features line up with the drawn ones. On a clear day that is easy and you should do it constantly, so it becomes your default. Lay the compass on the map, align the edge of the baseplate with the grid lines (or the compass housing's orienting lines with grid north), and rotate the whole map and your body until the red end of the needle sits inside the red orienting arrow. Now the map is facing the same way as the world.
Then thumb it. Fold the map so you are only looking at the section you are walking through, and keep your thumb on your current position. Refold as you go. A map the size of a tablecloth flapping in a glen wind is a map you cannot read.
- Set the map at every stop, even if you only stopped to adjust a rucksack strap.
- Check it against something real: a burn junction, a deer fence, a change in slope.
- If the map does not match the ground, trust the ground and work out why.
Take a bearing that earns its place
You do not need a bearing for every step. Take one when you are leaving a path, when there is no line of sight to your next point, when the ground is featureless, or when you are finding a pitch or a bothy in the dark. Otherwise, save your attention.
To take one: lay the long edge of the compass baseplate between where you are and where you want to be, with the direction-of-travel arrow pointing at the target. Rotate the bezel until the orienting lines sit parallel with the map's grid lines, with the orienting arrow pointing to the top of the map. Read the number at the index line. That is your grid bearing.
You then need to account for magnetic variation, the difference between grid north and where your compass needle actually points. In Scotland this is currently only a degree or two west, which is less than your walking error over a few hundred metres, but it is marked in the margin of every Ordnance Survey sheet. Know it exists and check it. Larger errors belong to older maps and other parts of the world.
Walk on the bearing, not at the compass
The most common mistake is staring at the compass while walking. You weave, you slow down, and you miss everything around you. Instead, hold the compass flat at waist height, keep the needle sitting in the orienting arrow, look up, and pick a feature on the bearing: a boulder, the edge of a crag, a lone pine, a patch of dead bracken. Walk to it, then repeat. In genuinely featureless ground, use your walking companions as a relay line, or take ten paces, check, ten paces, check.
Two things push you off course. The first is slope: on a hillside you naturally drift downhill, so aim a little uphill of your target and let the ground correct you. The second is the ground itself, which funnels you into the easiest line rather than the straight one, especially in heather and bog.
If you deliberately aim off, you turn error into information. If your target is a bothy on a burn, aim for a point on the burn upstream of it. Arrive at the burn and you know exactly which way to turn.
Distance: pacing and timing together
A bearing tells you direction, not how far, and most navigational embarrassment comes from distance rather than angle.
- Pacing: count double paces (every time your left foot lands). Most people take 60 to 70 double paces per 100 metres on flat ground, more uphill, more in deep heather or bog. Calibrate yours on a known stretch.
- Timing: roughly 4 km/h on a good track, 3 km/h on rough glen ground, far slower on steep or pathless terrain. Add about a minute for every 10 metres of ascent.
- Both: if your pacing and your timing agree, you are probably right. If they disagree, something is wrong and it is worth stopping.
Use handrails too: a burn, a fence line, a wall or a ridge that runs towards your target and keeps you honest. And pick a catching feature, something beyond your target that tells you if you have overshot, such as a loch shore, a forest edge or a big crag.
When nothing matches, stop
If the ground refuses to make sense, stop walking. Put on a layer, eat something, drink something, and get the map out properly rather than glancing at it. Take a back bearing to check where you have come from. Give yourself ten minutes to resolve it.
If you cannot, choose a safe line and follow it downhill on a bearing you are certain of. In the Scottish glens, water leads to a track, a track leads to a road, and a road leads to shelter. If darkness or weather forces a wild camp, look for level, draining ground, well away from loch edges and at least a hundred metres from any path, and treat any bothy as a bonus rather than a plan. Then practise all of this on a fine day, so that when the cloud comes down you are simply doing what you already know.


Hill Walks
-
Always pitch on durable ground, bury human waste, and remove every scrap of litter when you leave the site.
Wild Camping



-

Long established fact that a reader will be distracted
-

Long established fact that a reader will be distracted
-

Long established fact that a reader will be distracted




Long Distance
Karla Gleichauf
12 May 2017 at 05:28 pm
On the other hand, we denounce with righteous indignation and dislike men who are so beguiled and demoralized by the charms of pleasure of the moment
M Shyamalan
12 May 2017 at 05:28 pm
On the other hand, we denounce with righteous indignation and dislike men who are so beguiled and demoralized by the charms of pleasure of the moment
Liz Montano
12 May 2017 at 05:28 pm
On the other hand, we denounce with righteous indignation and dislike men who are so beguiled and demoralized by the charms of pleasure of the moment